04 Oct Working with Pulse Sensor
I’ve always wanted to work with the pulse sensor. Having heartbeats is what everybody shares in common, it is something that connects us all together.
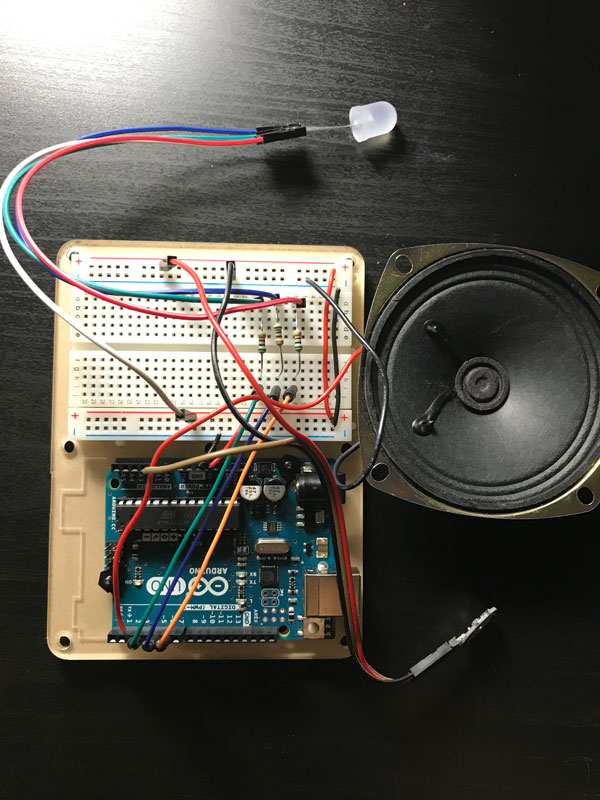
This is what I created in the past week with a pulse sensor:
Arduino Code is based on Getting Advanced and Speaker Tutorial on the Pulse Sensor site.

It is a simple device that measures your heart rate, and changes its sound frequency and LED color based on the reading. If you’re tapping on the sensor like I do in the video, it will read it as an increase in heart rate.
I ran into numerous problems during the process, the main reason being there are too many things in the code that I do not fully understand. The biggest issue I had was the inaccurate reading of the sensor. For a few seconds it would read ok, showing 60 – 70 bpm, then it would suddenly go up to more than 200 bpm. I checked the code from Getting Advanced (which works better) against the code from Speaker Tutorial (which doesn’t work as well), and figured the duration of the sound from the speaker might be the problem. I messed with the delay time in several sections and finally got it to achieve an ok performance. I’m still not completely sure if that was the problem, but I managed to get it fixed for now. Another problem I encounter is false triggering. When I’m not putting my finger on the sensor, it still reads noise and generates light and sound, I wonder if there is a way to turn the sketch off when it the sensor is not touched.
I uploaded my code for this project onto GitHub.

Pingback:CARRIE SIJIA WANG | Enclosure for Pulse Sensor Project
Posted at 07:35h, 04 October[…] Working with Pulse Sensor […]
Surya
Posted at 00:44h, 15 NovemberI’m getting fluctuations in BPM (it varies from 40 to 250). Most of the times, its in the 200s. Sometimes, it comes down to 90 or 80.
http://bigbelectronics.in/product.php?product=pulse-heart-rate-sensor-module-arduino-raspberry-pi