21 Sep Standardized Project Enclosure
Next week I will be showing an old project of mine at NYC Media Lab’s Summit. The project has an Arduino micro controller, a distance sensor, and a lot of wires. I thought about how I could organize and hide the wires, which led me to design and make standardized enclosures for projects with micro controllers, sensors, and circuits.
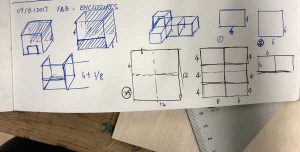
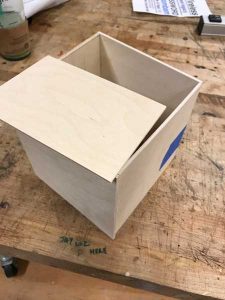
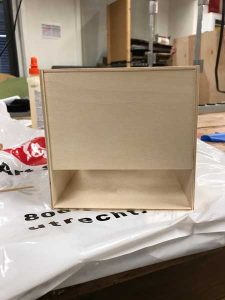
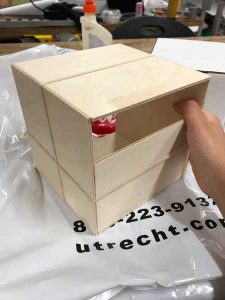
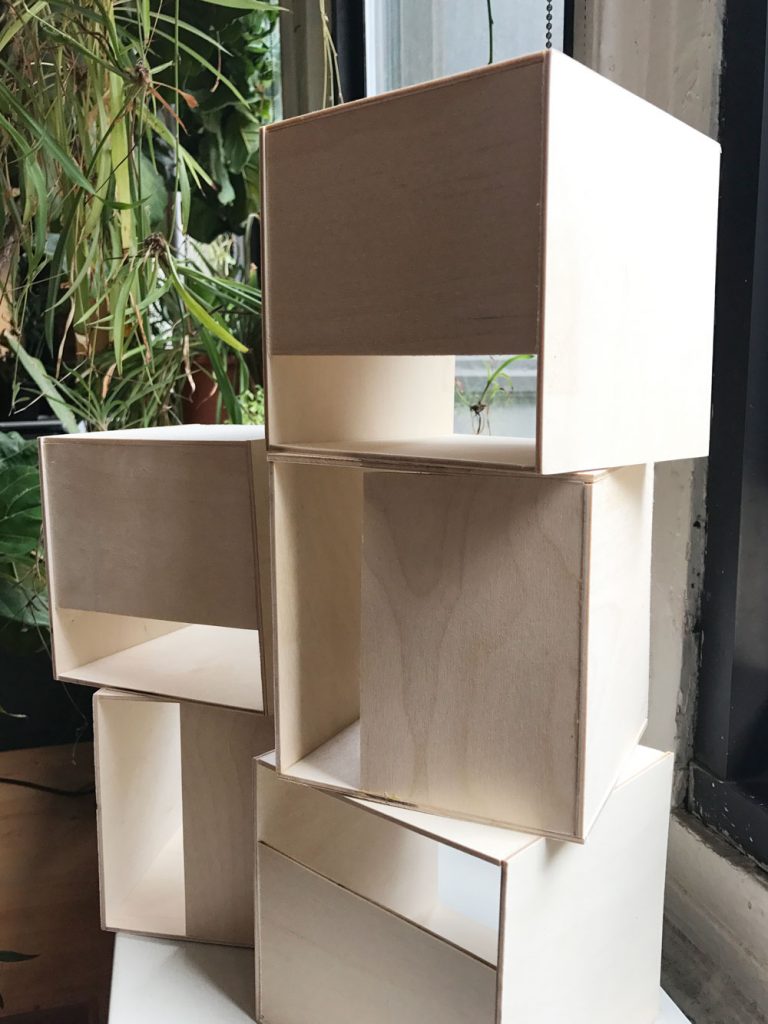
My design is simple, a 6x6x6″ cube, with a 2″ opening on the front surface for sensors or buttons to stick out, and the back open for wires to go through.
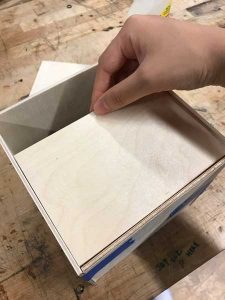
For the purpose of the fabrication class, I made 5 enclosures. I learnt it the hard way that what seemed simple could be very difficult to make. Throughout the process, I found myself going back multiple times to redo previous steps in order to fix uneven surfaces or salvage fallen panels.
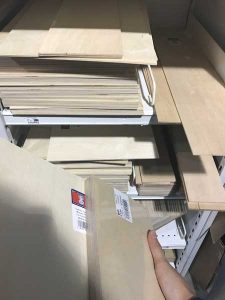
I started with simple sketches and 1/8″ plywood panels.
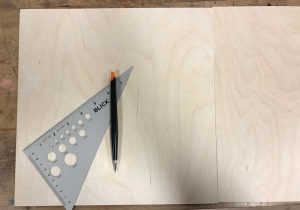
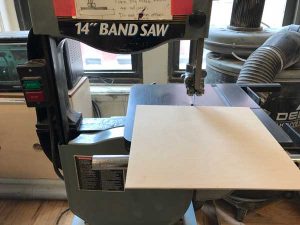
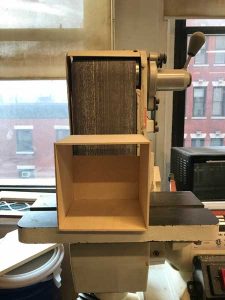
I used a pencil to make where to cut on the panel and had them cut on the band saw and sanded the panels on the sanding machine.
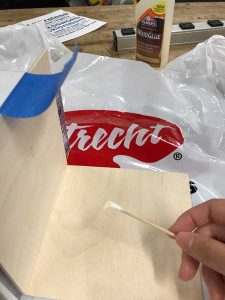
Special thanks to shop staff Manning who suggested that I could use Q-tips to apply glue.
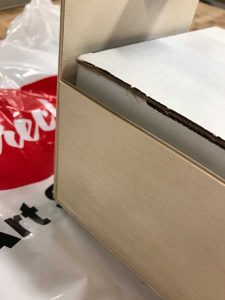
Unable to find a clamp that fits my purpose, I used rubber bands to hold the boxes in place.
After the glue dried, I went back and sanded some of the boxes again to get rid of extruding edges.
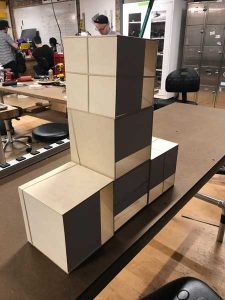
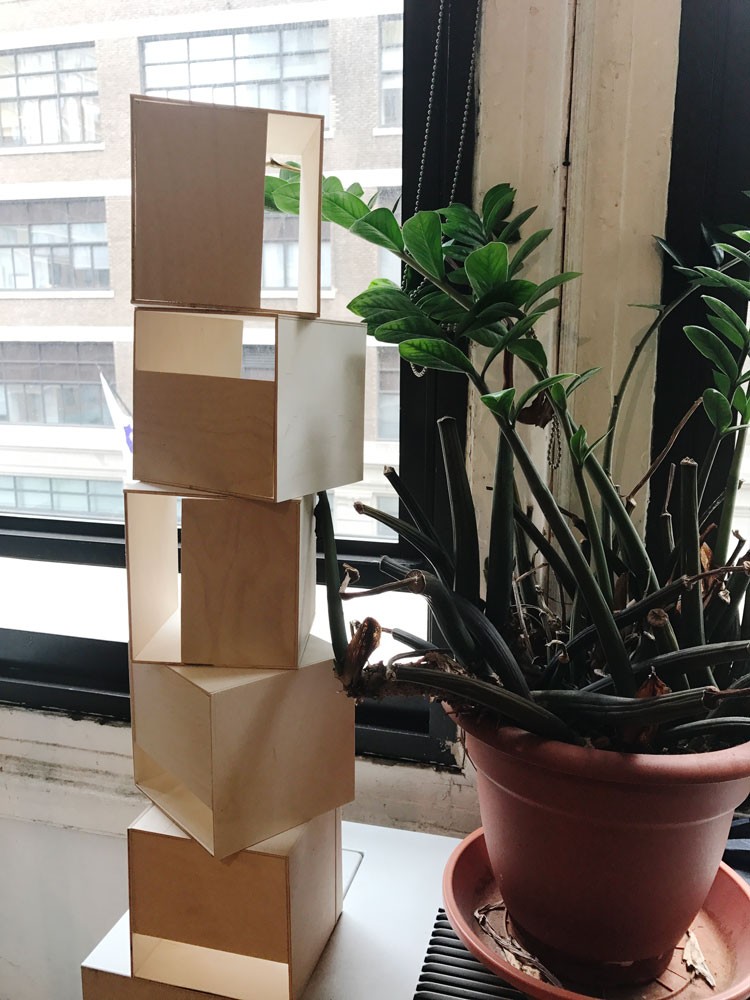
When combined, the boxes make a nice sculptural piece.
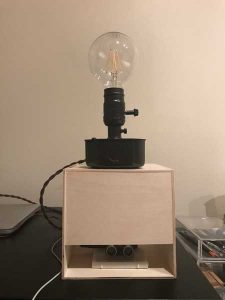 This is how I’m planning to use the boxes.
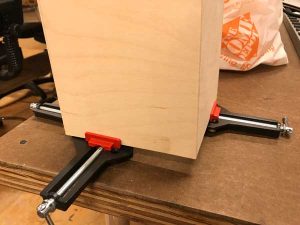
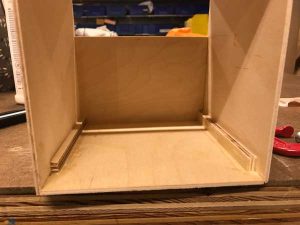
Just earlier today I learnt that there was such a thing called right angle clamp. I bought a few and tested them out on one of the boxes. I also added wood strips on the two relatively vulnerable sides of the cube to reinforce its structure.
Tomorrow I’ll find out if these experiments made my box stronger.

Ben Light
Posted at 14:53h, 21 SeptemberNice work. Love that you used rubber bands for clamps. And that you added wood strips at the corners, these are called glue blocks and add a lot of strength to a joint.
We did have 90 degree clamps in the shop, but I haven’t seen them recently, glad you got your hands on some. They definitely make glue-ups easier.