04 Oct Enclosure for Pulse Sensor Project
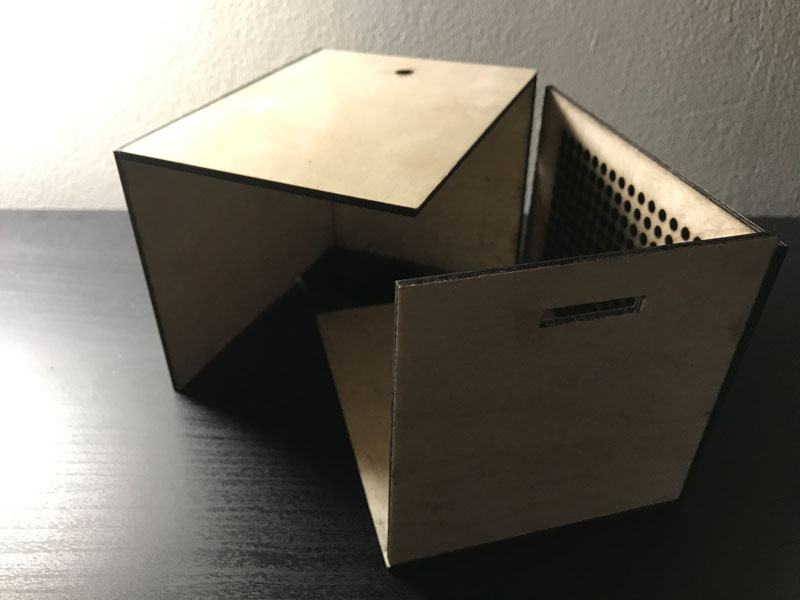
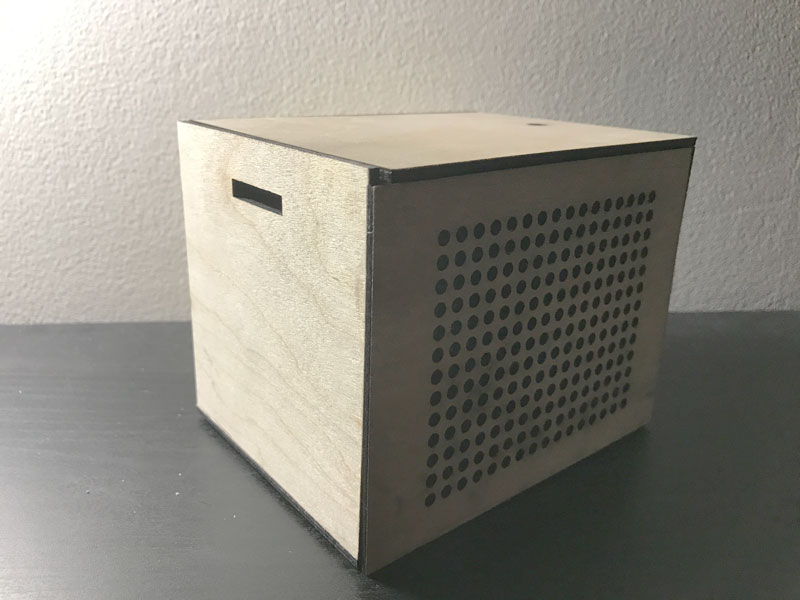
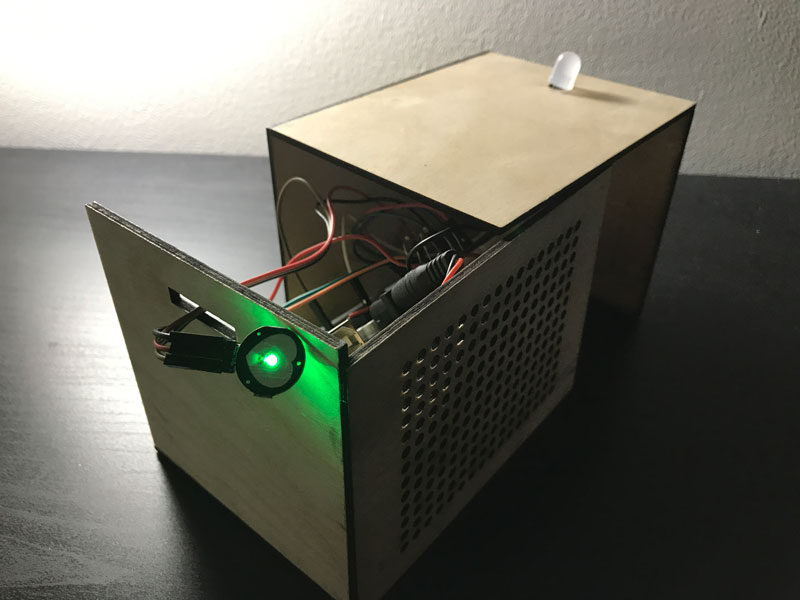
To house my pulse sensor Arduino project this week, I made a customized enclosure with the 75watts laser cutter. The idea is to create a box with two openings for the LED light and for the sensor. The box should be easy to open, and it should also function as a speaker.
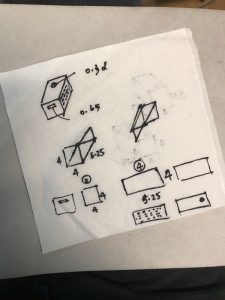
I started with some sketches.

The speaker panel took forever to cut through, and by the time it was done, it was also thoroughly burnt.
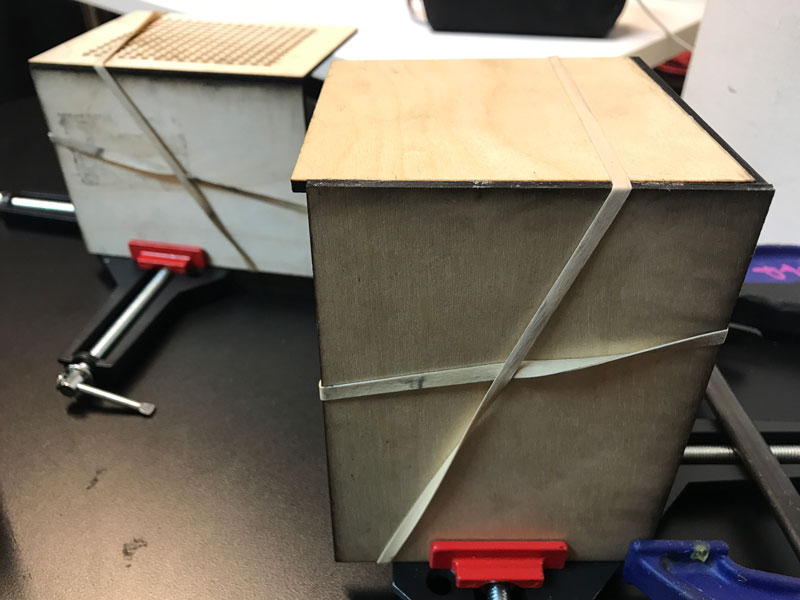
My plan was to only glue three faces of the box together, so it can be easily taken apart and reassembled.
Ben Light
Posted at 19:49h, 04 OctoberGood work. How do you keep the two halves together when it is fully enclosed?
Is there an on/off switch?
I would have liked to have seen the pulse sensor mounted to the enclosure. There are three small holes that you could have used on the sensor to screw it to the box. Also, a panel mount LED would have worked very nicely.
In the future, if you want to save time cutting out a speaker grill, just cut a rectangle and add screen or mesh behind it.
Carrie Wang
Posted at 05:20h, 05 OctoberThanks Ben, these are great suggestions. I’ll keep working on it. As for keeping the two halves together, right now one half can sit on top of the other because of the thickness of the panels and how I glued them. Would love to figure out other ways to make them stay together temporarily. No it doesn’t have an on/off switch yet.